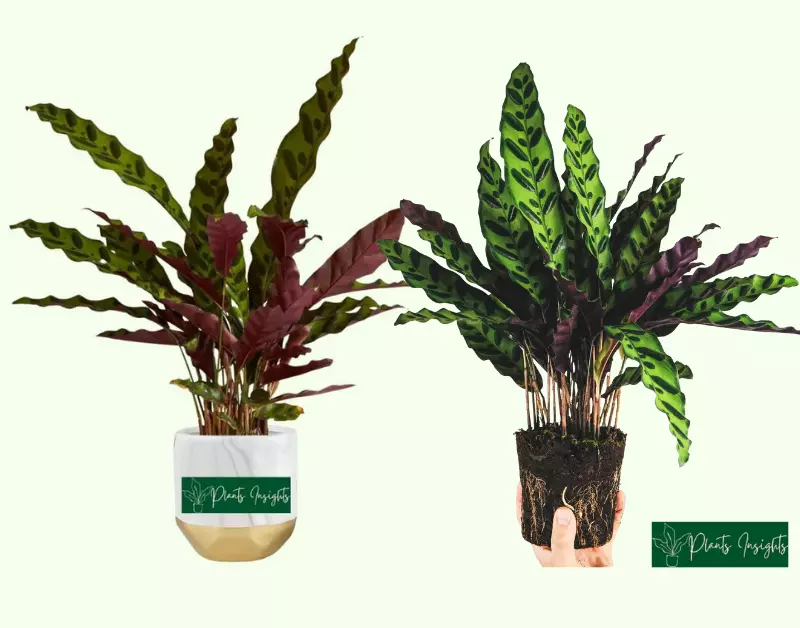
Repotting is a considerable necessity during the lifespan of any Calathea plant and is vital if you want your plant to live in all its glory. These plants can reach the space limit in a short period. This article will provide information about when and how to repot Calathea plants, and what to do after the process. Hopefully, this will help you in times of need.
Calatheas need to be repotted once every 2 to 3 years to ensure enough space for healthy growth. Repotting can prevent the root system from getting out of space and help them to absorb sufficient nutrients and water. Repot your Calathea into a one to two inches bigger container or 20 percent larger than the pot it’s currently in.
The slow growth rate, wilting of leaves, and sprouting roots through the pot drain hole are typical warning indicators that your Calathea is becoming rootbound and requires a bigger container. The transplantation can be beneficial if the plant suffers from an overdose of fertilizer salts or the soil becomes nutrient deficient. We’ll discuss these situations in more detail in the following paragraphs and provide an easy-to-follow guide to transplanting your Calathea.
Prominent Family Members: Calathea White Star, Calathea Leopardina, Calathea Fasciata, Calathea Roseopicta, Calathea Flamestar, Calathea Lutea, Calathea Freddie, Calathea Lancifolia
Essential Products:
Why Repot Your Calathea?
When your plant seems to be growing moderately fast, it’s tempting to keep everything as same. It is valid for an extremely sensitive plant like the Calathea. However, at the same time, it’s not beneficial to wait for too long, causing harm to your Calathea due to the delay in repotting. If your plant is growing at a healthy rate, it eventually requires a larger area for roots in the pot. Here are some of the reasons you should periodically change the pots of your Calathea.
Calathea is Root Bound
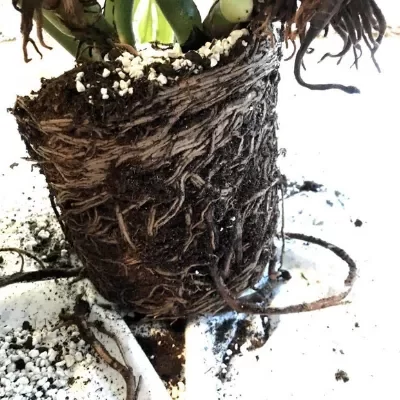
When the plant’s roots reach the edges of the container, the roots start to curl around themself. As time passes, they are wrapped around each other by repeated curling. Roots are packed so tightly that they’ll hold on to the specific shape in their pot even after you take them out. These tightly packed roots are called root-bound roots.
If the Calathea plant roots bound situation becomes worse, the roots will not be able to absorb water and nutrients because of the less space in the pot. When plants do not get sufficient water and nutrients for growth, they ultimately start wilting.
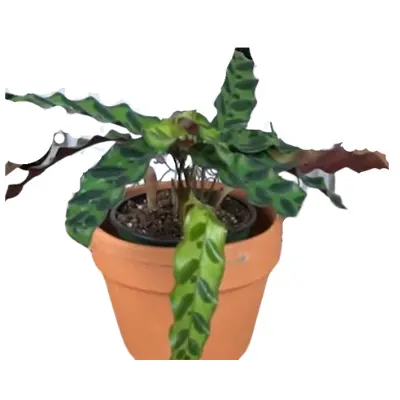
The stunted growth of the plant is the initial sign of a root-bound plant. Calathea growth rate is moderately fast. You may need to repot the plant when you see that your Calathea plant growth has become slow or stopped with all growth requirements like water, temperature, humidity, and fertilizers fulfilled accurately. More advanced signs will be
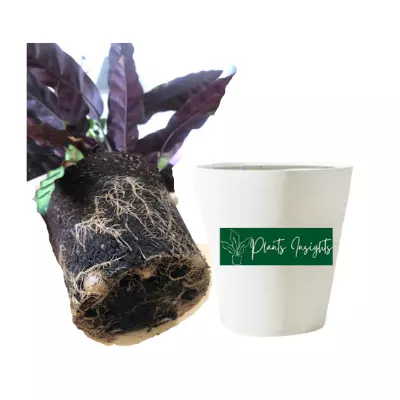
Rattlesnake Calathea root bound
You can also confirm the root bounding of the Calathea by checking the pot’s base. If roots emerge from the drain hole, it means the plant roots need more room to breathe and absorb nutrients and water.
Depleted Nutrients
Another reason to repot your Calathea plant is a shortfall of the nutrients in the soil, and the symptoms will be the stunted growth of new foliage and discolored deformed leaves. A root-bound plant will have decreased absorption capacity causing nutrient deficiency even if you fertilize your plant regularly.
Furthermore, Roots have hair-like structures, called root hair or absorbent hair. Their function is to increase the absorption of nutrients and water by penetrating deep into the soil. Pot bounded roots don’t allow root hair to move freely, and they get damaged by tangling with each other, and nutrient deficiency occurs.
In such scenarios, you need to repot your Calathea with nutrient-rich well-drained, moist soil so that roots can have additional room in the pot for water and nutrient absorption.
The buildup of Mineral Salt
Fertilizer boosts the Calathea plant growth when applied in the growing season. The root-bound plant does not absorb the mineral salts, and they start accumulating. It results in a high concentration of salts that can harmfully impact the plant and even cause leaves to burn.
Even flushing the soil will not help because the root-bound condition will not allow the water to flow freely and flush away all salts from the drain hole.
Root Rot
Repotting becomes a necessity if your Calathea is facing problems like root rot. If the potting mix consistently remains damp for more than five or six days after watering, the plant is at risk of becoming rotten. Examining the soil is the best method to determine the situation.
If you are concerned that your Calathea may be suffering from root rot, don’t be afraid to pull it out from the pot and check the roots carefully. Healthy roots should be light and stiff. They’re probably rotting if they’re dark brown, black, or grey and have a slimy, soft texture. Cut off all affected tissues with a pair of disinfected scissors, and then plant them again using fresh soil and a clean pot.
Rotting of Roots
When to Repot Your Calathea
Calatheas stop growing in the winter; therefore, winter is not a good time to repot as it takes a long time to recover from the stress of transplanting. Avoid repotting in winter if your plant is not suffering from root rot. The best time to repot your Calathea is early spring when the plant shows new growth.
What do You need to Repot Your Calathea?
Ensure you have prepared all items before time to reduce the Calathea’s roots’ exposure to air. You should have:
Well draining Pot
The main essential requirement for a plant’s Calathea container is at least one large drainage hole to prevent the soil from becoming over-saturated. In terms of size, pick the container about 20 percent bigger than the plant’s current residence, which will increase the diameter by one inch or two inches.
It’s generally best not to increase the size beyond this. When a pot has a larger soil volume than the roots, it will take longer to dry out, making overwatering more likely.
Choose the type of material that will blend with your interior. Be aware that porous materials like terra cotta allow water to evaporate faster, so you’ll need to water your plant more often.
Potting mix
Select a soil mix with the highest proportion of coarse elements like perlite and pine bark, ensuring the soil remains adequately aerated. Also, add some organic material to hold little water to moisten the soil. If you’re using a ready-made potting mix, select specifically for African Violets, which require the same amount of drainage and moisture as Calatheas do.
However, pot mix should have moisture retention quality, and it shall protect from excessive watering through its draining capabilities.
Pruning Shear
They may not be needed, but a pot-bound Calathea could require pruning of some badly tangled or demerged roots so the plant can establish itself in its new surroundings after repotting. Also, any indications of root rot require immediate pruning of the rotted roots of the plant.
Disinfectant
If you’re cutting Calathea roots with shears, sanitize them before using them. Infected tools are a common reason for disease spread, and you do not want to risk your Calathea for any disease. The most common and effective disinfectants include isopropyl alcohol or the mixture of 1 part bleach with 9 parts of water. Use this mixture to disinfect your pruning tools.
Note : Water your Calathea plant one day before repotting. Moist soil will assist in the easy removal of plants from the pot, and you shall also provide your Calathea with a chance to accumulate water to keep it hydrated until its roots recover.
How to Repot Your Calathea
Follow these steps to report the Calathea plant successfully
Preperation
